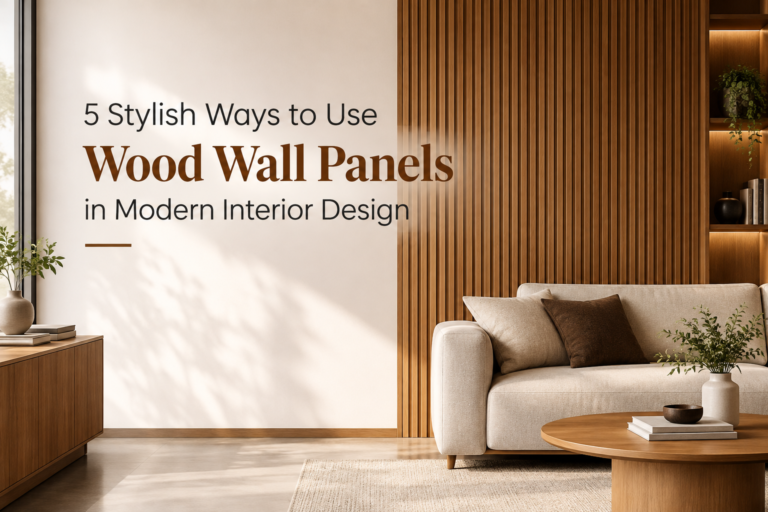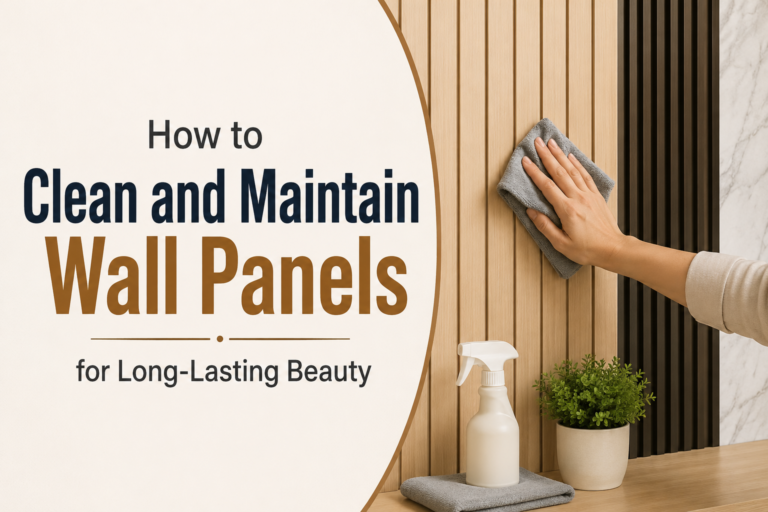
Wall panelling has quietly become one of the most popular interior upgrades, and for good reason — it adds instant character, hides imperfect surfaces, and gives even a plain room a boutique-hotel feel. If you’ve been wondering how to do wall panelling yourself, this guide breaks the entire process into eight simple, practical steps.
What is Wall Panelling?
Before jumping into the how-to, it helps to understand what wall panelling actually is. Wall panelling is the practice of covering a wall (partially or fully) with decorative panels made from materials like MDF, wood, PVC, or plywood. Instead of relying purely on paint or wallpaper, panelling introduces texture, depth, and architectural interest to a room. It’s used in living rooms, bedrooms, hallways, and even ceilings, and it works across styles from classic wainscoting to sleek, modern wall panel designs with clean geometric lines.
Panelling isn’t just decorative, either. It’s practical. A well-installed panel wall protects against scuffs, minor dents, and daily wear, especially in high-traffic areas like corridors and staircases.
Why DIY Wall Panelling is Worth Considering
DIY wall panelling has become a popular choice for homeowners looking to upgrade their interiors without undertaking a major renovation. Materials such as MDF wall panels are lightweight, cost-effective, and easy to cut and install, making them ideal for DIY projects. With the right tools and a free weekend, you can transform a plain wall into a stylish focal point.
However, achieving a clean, professional finish requires careful planning and accurate measurements. Even small mistakes, such as uneven panel spacing or misaligned cuts, can affect the final appearance. If you want flawless results with premium craftsmanship, choosing the top wall panel services in Dubai is a smart investment. Whether you’re installing the panels yourself or hiring professionals, following a step-by-step wall panel installation process is the key to creating a beautiful, long-lasting interior.
How to Do Wall Panelling: 8 Simple Steps
Step 1: Choose Your Panel Design and Material
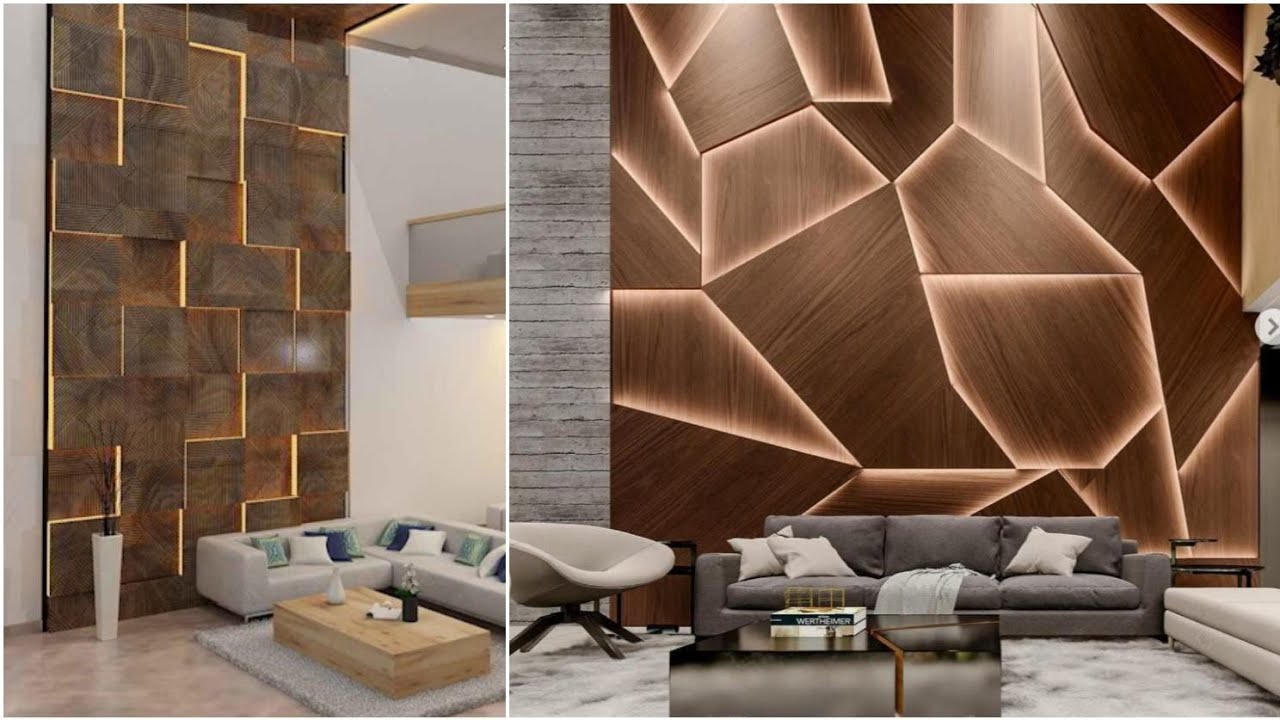
Start by deciding on the style you want vertical slat panels, grid/geometric panels, board-and-batten, or fluted designs are all popular right now. MDF is the most commonly used material for decorative wall panels because it’s smooth, paintable, and budget-friendly. Solid wood and PVC are good alternatives if you want extra durability or moisture resistance.
Step 2: Measure the Wall Accurately
Measure the height and width of your wall carefully. Note the position of switches, sockets, and any obstructions. This step determines how many panels you’ll need and how they should be spaced, so take your time here most panelling mistakes trace back to rushed measurements.
Step 3: Plan the Layout on Paper
Before cutting anything, sketch the panel layout to scale. Decide the width of each panel and the gap between them. A balanced, symmetrical layout is what separates a professional-looking finish from a DIY job that looks slightly “off.”
Step 4: Prepare the Wall Surface
Clean the wall thoroughly and fill in any cracks or holes. If the wall is uneven, a light sanding or skim coat will help panels sit flush. This step is often skipped, but it directly affects how well the panels bond and how smooth the final finish looks.
Step 5: Cut the Panels to Size
Using your measurements from Step 2, cut the MDF or wood panels to the required dimensions. A circular saw or fine-tooth handsaw works well for MDF. Always double-check measurements before cutting this is one area where “measure twice, cut once” genuinely applies.
Step 6: Fix the Panels to the Wall
This is the core of how to fix wall panels correctly. Apply a strong construction adhesive to the back of each panel, then press it firmly onto the wall following your planned layout. For added strength, especially on taller panels, use finishing nails or a nail gun alongside the adhesive. Use a spirit level continuously to keep each panel straight.
Step 7: Fill Gaps and Smooth the Joints
Once all panels are fixed, use a paintable filler or caulk to seal the edges and any nail holes. This creates a seamless look, especially important for grid or geometric panel designs where multiple joints meet.
Step 8: Prime and Paint
Finally, apply a coat of primer followed by your chosen paint colour. Two coats usually give the best, most even finish. This step ties the whole wall together and lets the texture of the panelling truly stand out under light.
And that’s it — eight steps from a bare wall to a professionally styled, panelled feature wall.
Tips for a Flawless Wall Panelling Finish
- Always work with dry, cured adhesive before painting.
- Use a laser level for long horizontal or vertical runs to avoid drift.
- If you’re using MDF wall panelling in a bathroom or kitchen, choose moisture-resistant boards.
- Keep panel widths consistent unless your design intentionally uses varied spacing.
- Test your paint colour on a small section first, especially with textured or fluted panels.
Final Thoughts
Wall panelling is one of the most rewarding home improvement projects because the transformation is dramatic relative to the effort involved. Whether you’re going for a warm, traditional look or exploring modern wall panel designs with bold geometric patterns, the process comes down to careful planning, accurate measuring, and patient installation.
If DIY wall panelling feels like more than you want to take on or you simply want a flawless, designer-level finish without the trial and error it’s worth bringing in professionals who do this every day. For homeowners in the UAE looking for expert help, Rare Home Decor, recognized as the best home renovation company in Dubai, specializes in custom wall panelling and complete interior transformations, ensuring your walls get the polished, high-end finish they deserve.
FAQs
1. What is wall panelling used for?
Wall panelling is used to add texture, style, and protection to walls. It enhances a room’s aesthetic while also shielding surfaces from scuffs and minor damage.
2. Is MDF good for wall panelling?
Yes, MDF is one of the most popular materials for wall panelling because it’s smooth, easy to cut, affordable, and takes paint very well.
4. How do you fix wall panels without damaging the wall?
Panels can be fixed using construction adhesive combined with finishing nails, which minimizes damage while ensuring a secure, long-lasting hold.
5. How long does wall panel installation take?
A single accent wall can typically be completed in a day, while larger rooms or intricate geometric designs may take two to three days.